
Steps to complete in Catapult Vision:
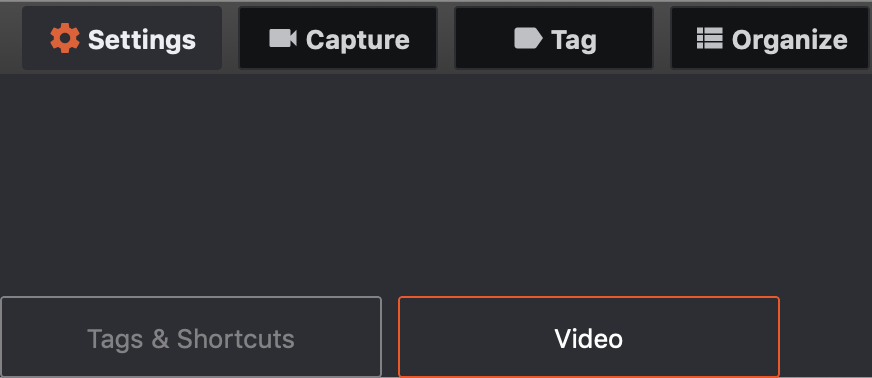
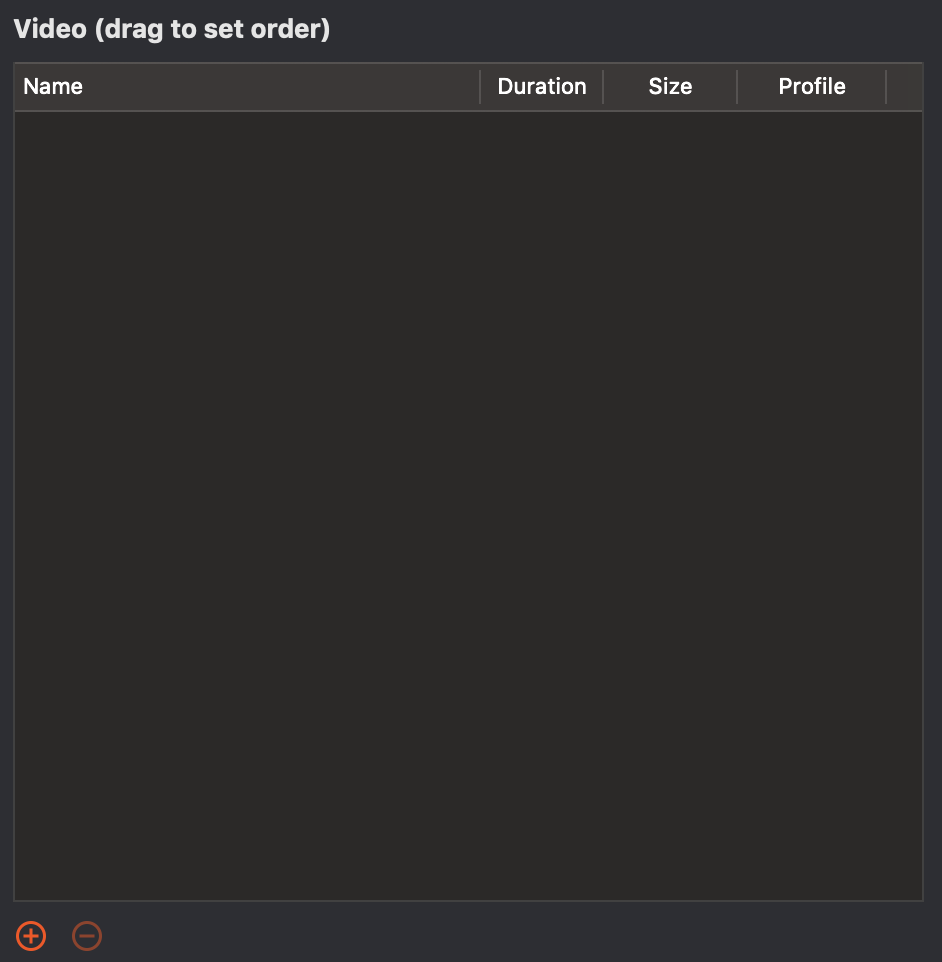
- Open Catapult Vision, load in your video file and any additional tags you wish to use in your project in the “Settings” tab.
- Select the “Tag” tab

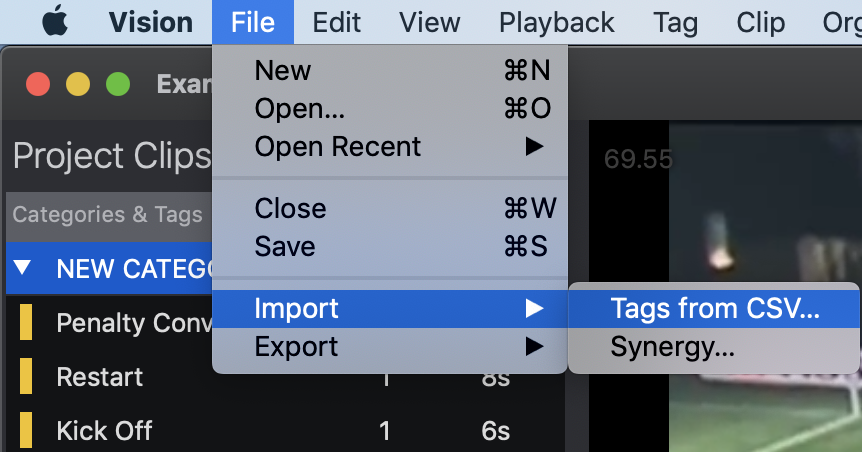
- You will notice the option to click “File” in the Apple menu bar at the top of the screen. Scroll down and select “Import”, then select “Tags from CSV”
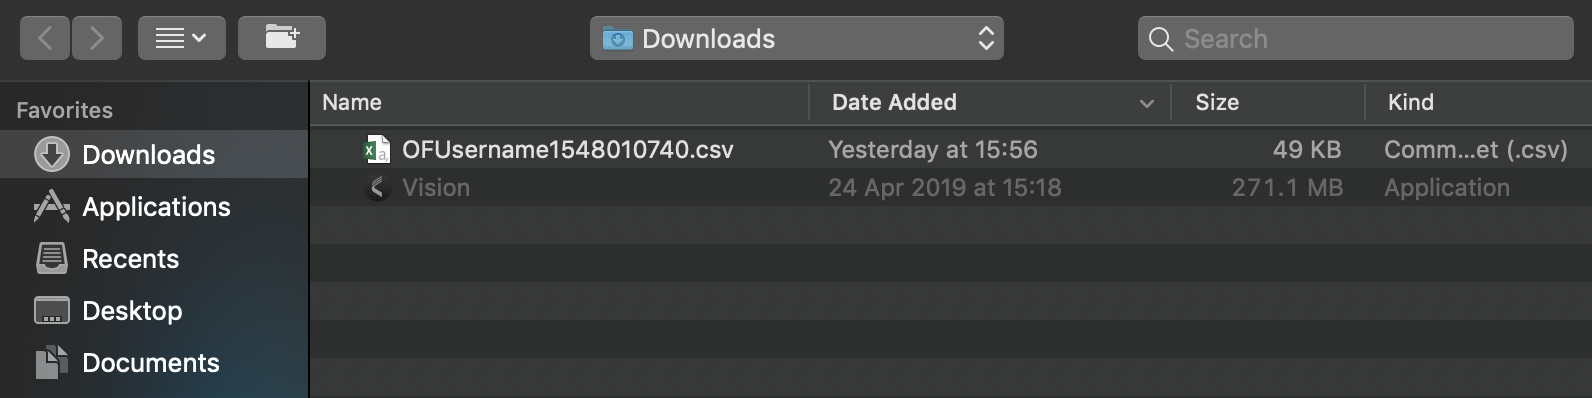
- Select your downloaded CSV file, and your tags should import into Catapult Vision. You can also use tags already input into Vision.
Note: If the tags do not line up with the video, you have the option to offset them so they line up properly after they have been imported.
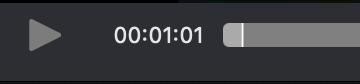
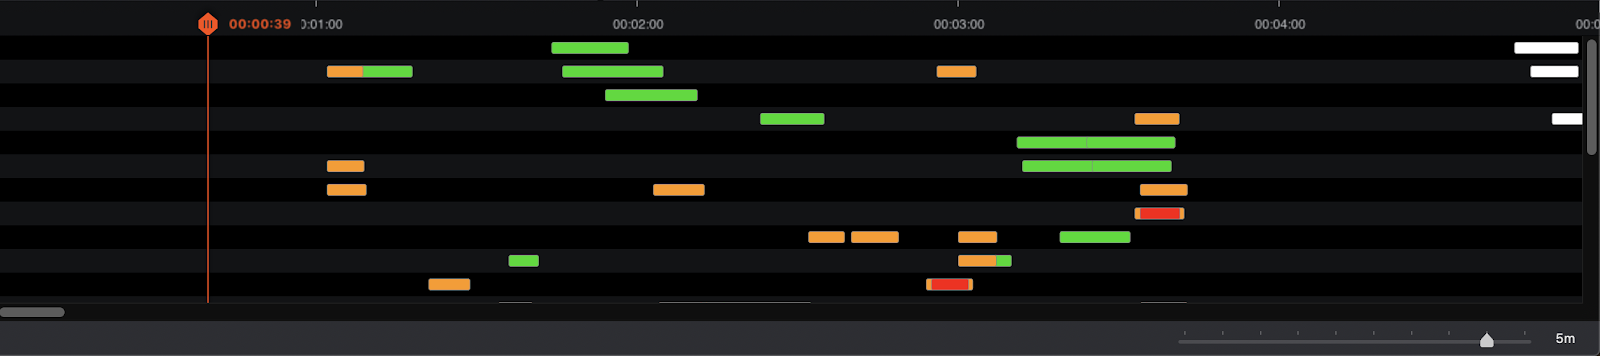
- To do this, using the playhead, select a known instance on your timeline (a high acceleration, IMA event, a Jump event etc) that you can match up to your video.

- Once on that tag, go to the apple menu bar, and select “Clip”.
- Scroll down to “Set Bump Origin at Playhead”.
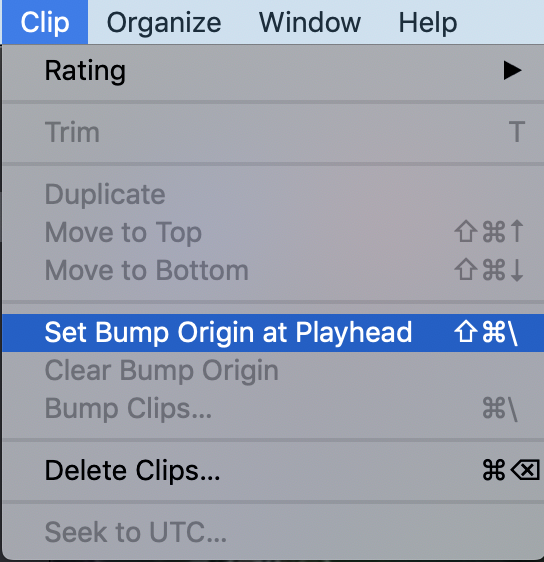
- You will notice a white line appear on your timeline where you have set the bookmark.
- Proceed to scroll forward or back to the point in the video of that particular instance you wish to align.
- Example: The initial Jump Ball tag instance does not show the correct video
- Go back to your Apple Menu bar and select “Clip”, and scroll down to “Bump Clips...”.
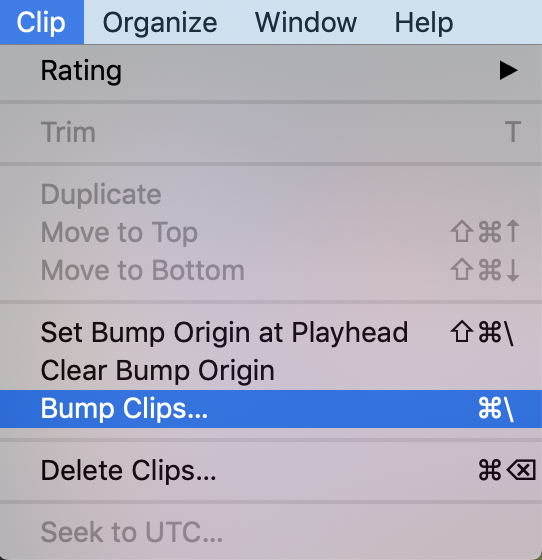
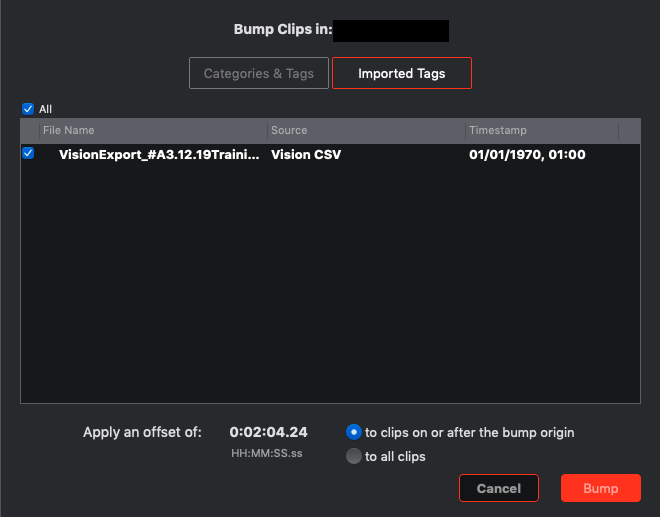
- The user will get the option to select specific Categories or Tags to move. Alternatively they will have the ability to move entire groups of imported tags under the 'Imported Tags' tab.
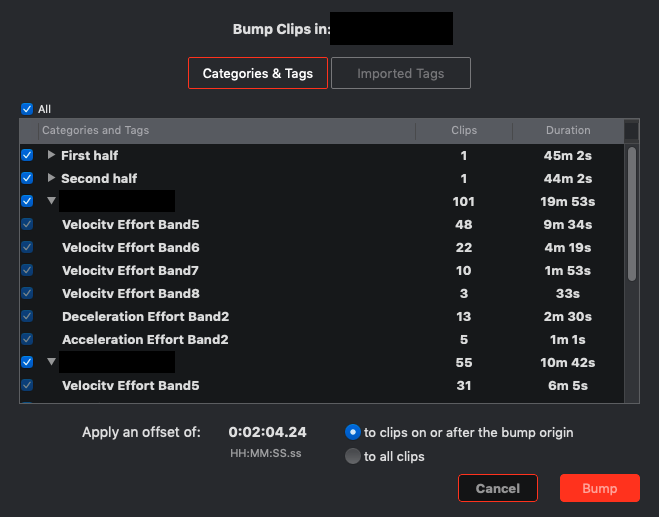
- The user will get the option to move all of your clips, or just those that occur after the playhead either forward or backwards depending on where you have set your playhead.
- NOTE: if you have first half clips or clips from previous quarters or segments, use to all clips on or after not ALL CLIPS

- All of your instances should then move on the timeline and be synced up properly.
Comments
0 comments
Please sign in to leave a comment.