
Vision Exporter Guide
OpenField to Vision
April 2021
Before you Begin
Prior to importing any wearable data into Catapult Vision, it is important to note some limitations with the import, and some crucial steps to ensure that your data is imported into Catapult Vision correctly.
- Ensure that all players you are wishing to import into Catapult Vision are added into each period of the session (PIP)
- Ensure that Gen2 Velocity and Acceleration effort detection is active on your OpenField account - seek advice from your Catapult contact.
- Ensure that you have done a Full Sync on your OpenField account
- Ensure all devices are mapped correctly to an athlete
Steps to complete in Openfield:
- Download the data from your Catapult devices ensuring the Activity is edited to start at the beginning of the match or training session and the athletes are added into the correct Periods.
- Perform a ‘Fast Bake’ on the activity (Right click on the Activity Bar in the OpenField Console > Bake Activity > Fast Bake).
- Full Sync from the OpenField console to the OpenField Cloud.
Steps to complete in Vision Exporter:
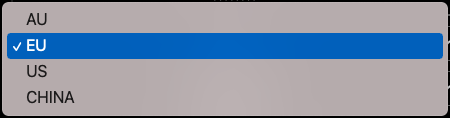
1. Select the appropriate server for your region:
https://vision-projects.catapultsports.com/vision-of-events/index.html
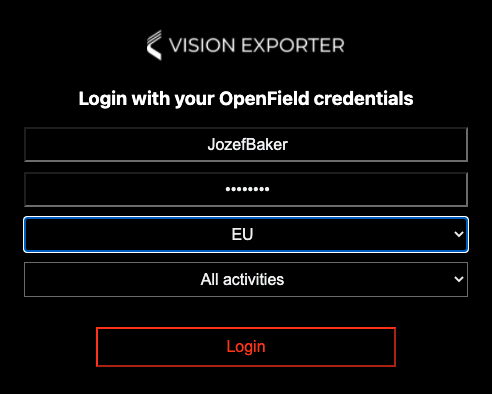
2. Sign in using your OF Log in Credentials, selecting your server and date range of activities you wish to work with.
 .
. 
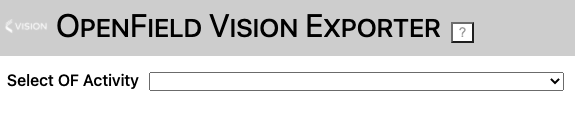
3. Select the OpenField Activity you wish to bring into Catapult Vision:
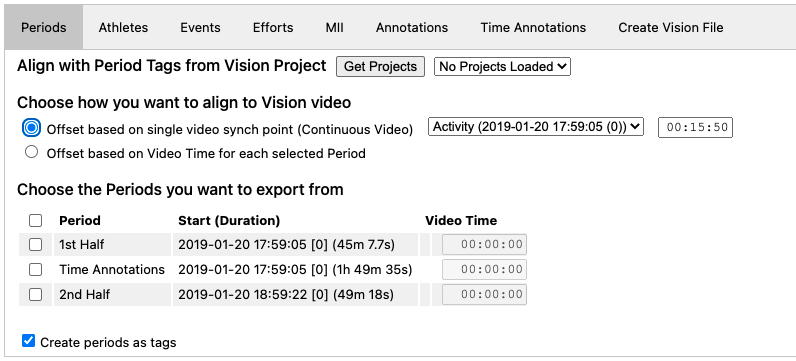
4. Choose how you want to align the data to the video you are using in Vision and enter the video time you wish to align your Catapult data to.
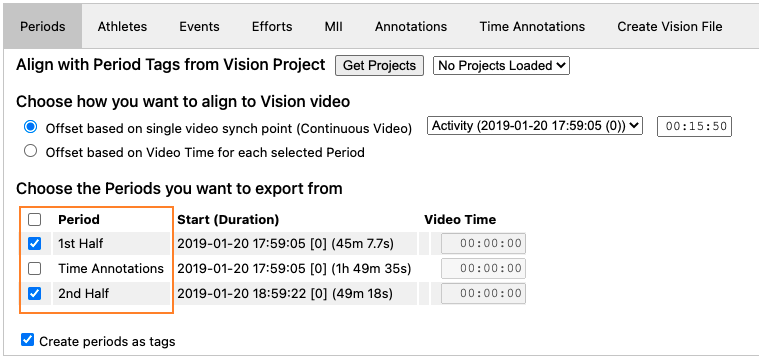
4.1. If the video you are syncing data to is continuous - select "Offset based on single video synch point (Continuous Video)". 
If using this option you will need to select which periods you want to export data for by checking the box next to the period name.
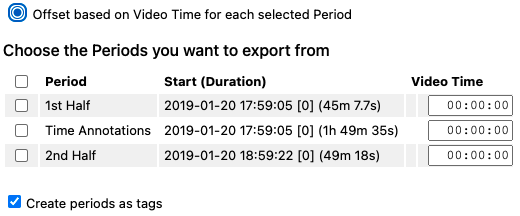
4.2. If the corresponding video has been cut you will need to use multiple synch points - select "Offset based on Video Time for each selected Period.
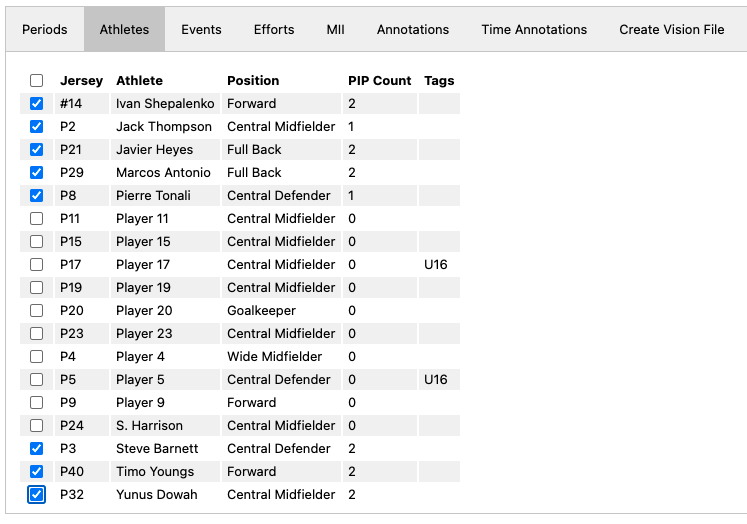
5. Select the "Athletes" tab to select which athletes you would like to export data for.
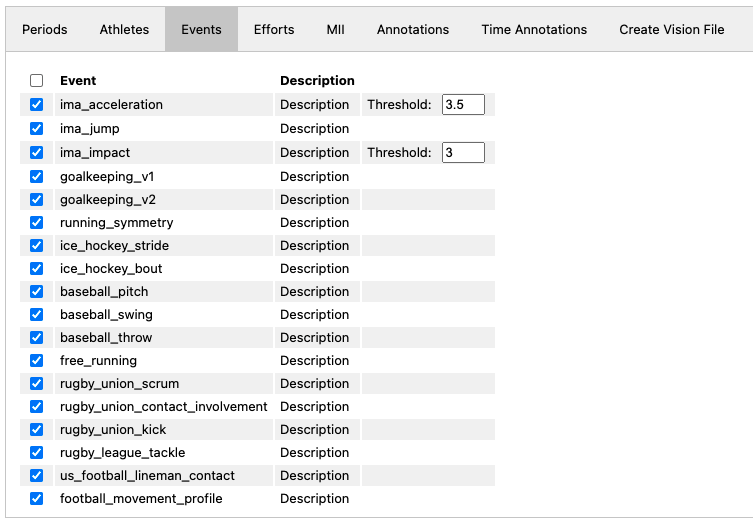
6. Select the "Events" tab and choose which events you would like to export - note the events available will differ depending on your sport. On "ima_acceleration" & "ima_impact" you will have the ability to set a minimum threshold above which events will be exported.
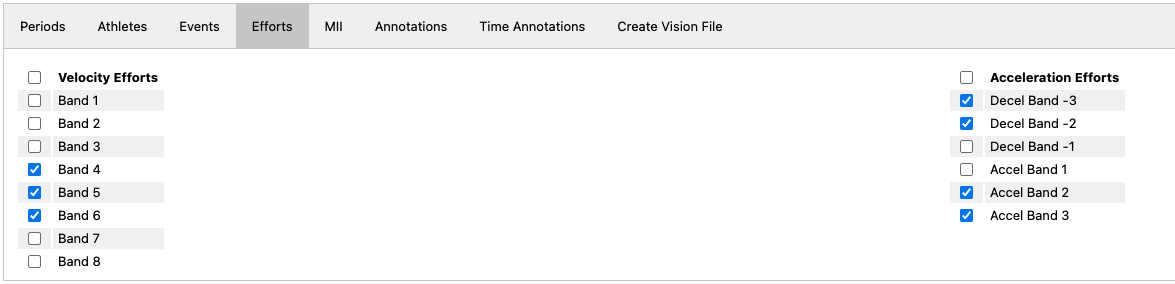
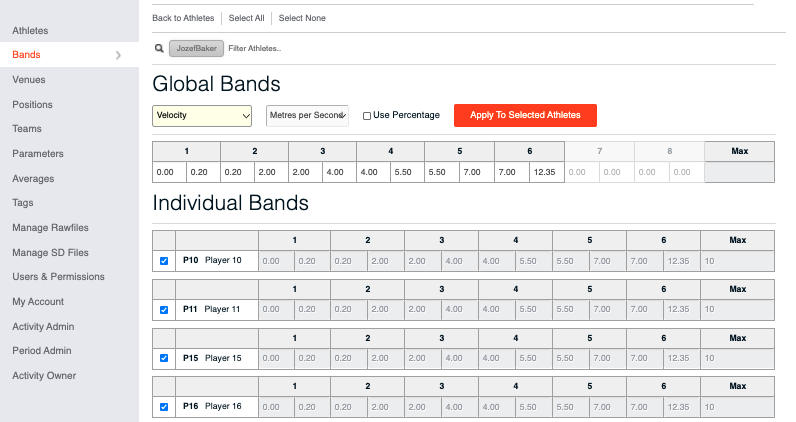
7. Select the "Efforts" and select which Velocity and Acceleration efforts you want to bring into Catapult Vision. The bands are the same as those applied in your OpenField account. These can be viewed in the OpenField Cloud > Settings > Bands.
WARNING - Users may see some performance issues when brining in excess of 2000 efforts/events into Vision. Users are encouraged to focus on a few key players and import key metrics that might of interest.
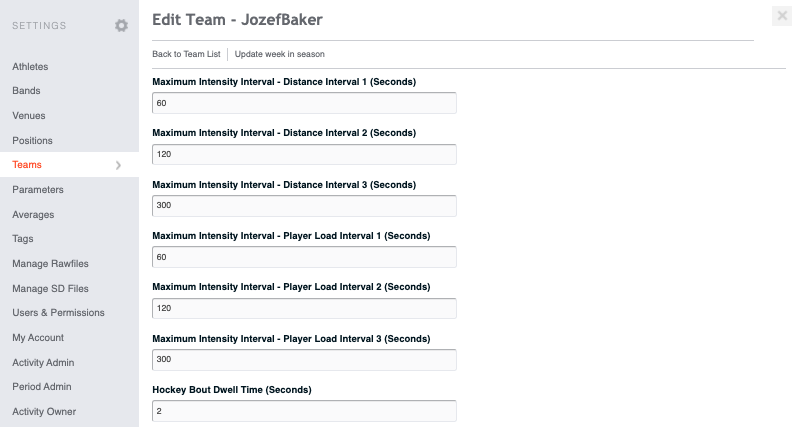
8. Selecting "MII" (Maximum Intensity Intervals) here you will be given the option to export MII for each period or the activity as a whole. Users will be able to select which Distance and Playload MII Intervals they would like to export. These intervals correspond to those define in OpenField Settings > Teams > [Team Name]

9. Select "Create Vision File" and "Fetch from OpenField". Users will be given the option to change how data is presented within Vision (Category and Tag). On the right users are able to set Pre & Post Roll time for each Effort/ Event they are exporting.
It is advised if users are exporting Football Movement Profile data the Pre & Post Roll data is set to 0.
Users are able to Preview how their data is going to look before they go on to download Vision CSV or Vision Amendment files.
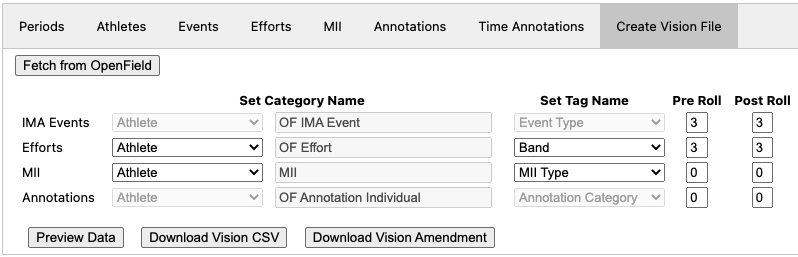
If you choose to Download Vision Amendment file you will get the option to set Tag Colours for the data you are bringing through.
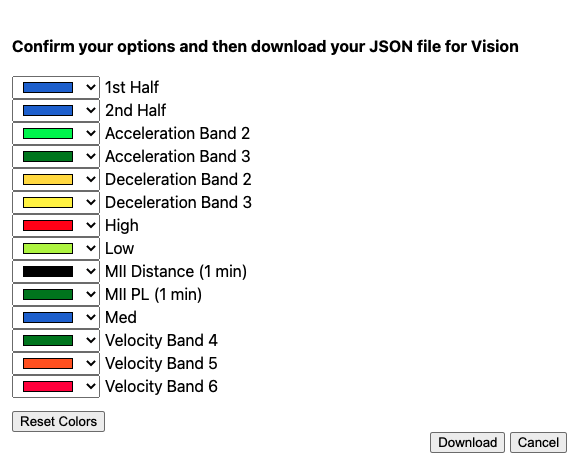
Steps to complete in Catapult Vision:
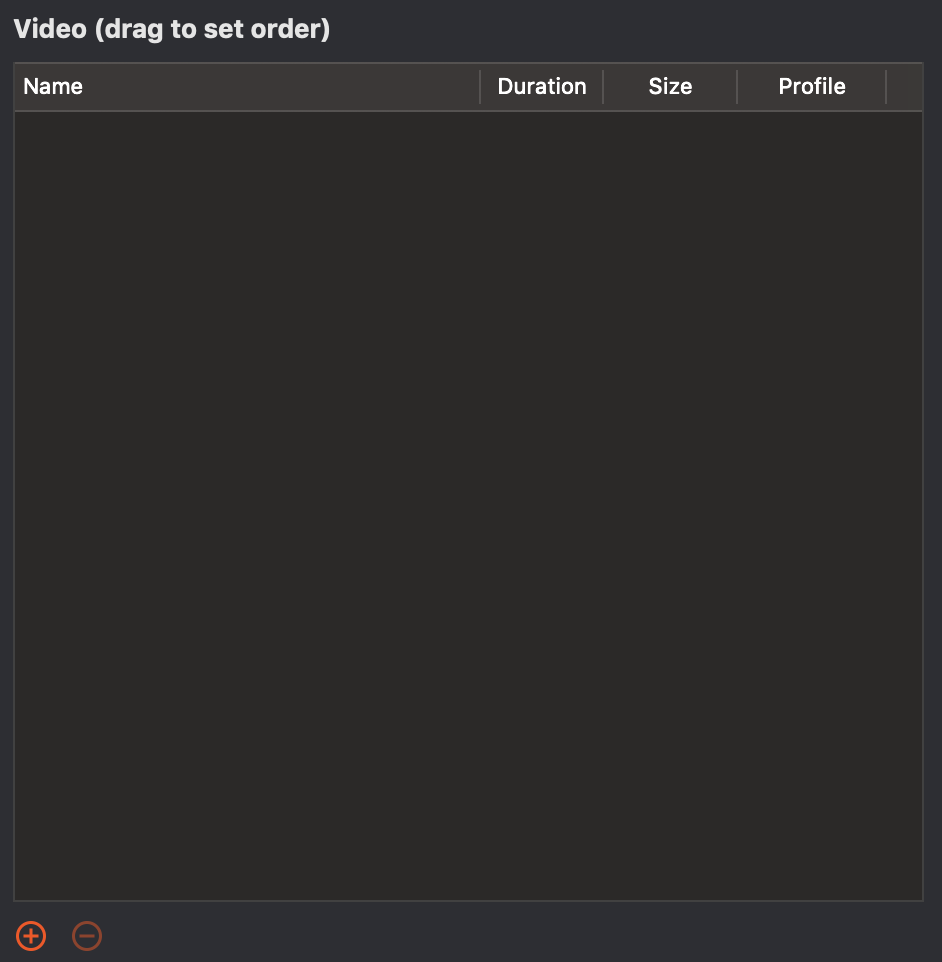
- Open Catapult Vision, load in your video file and any additional tags you wish to use in your project in the “Settings” tab.
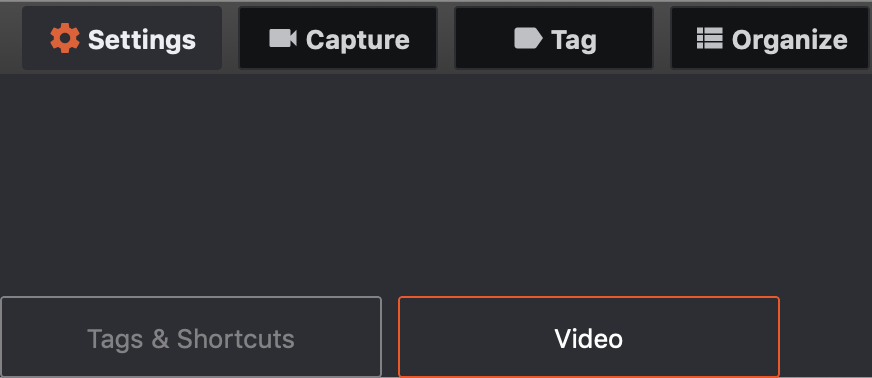
- Select the “Tag” tab

- You will notice the option to click “File” in the Apple menu bar at the top of the screen. Scroll down and select “Import”, then choose between “Tags from CSV” and "Vision Transfer File" depending on which you downloaded from the Vision Exporter.
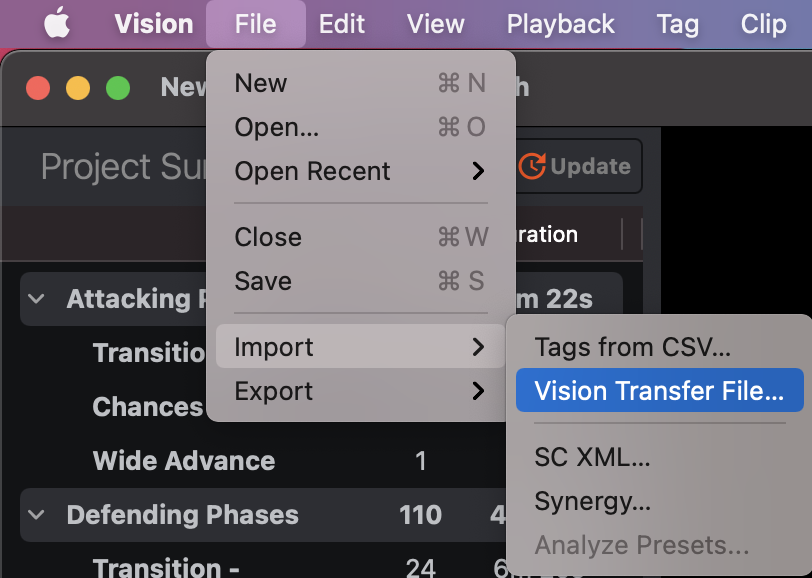
- Select your downloaded file, and your tags should import into Catapult Vision.
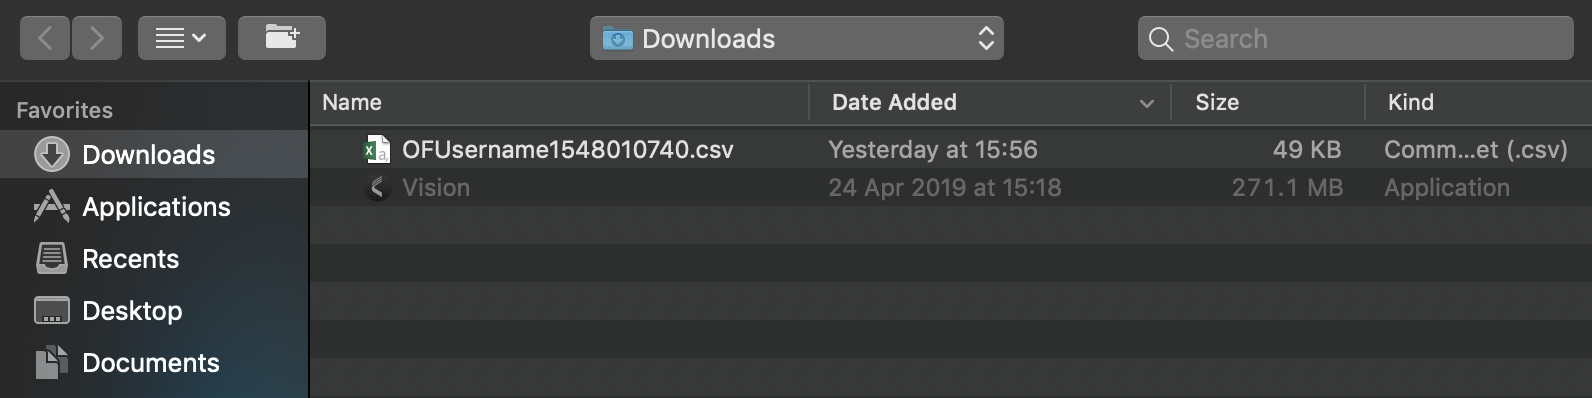
Note: If the tags do not line up with the video, you have the option to offset them so they line up properly after they have been imported.
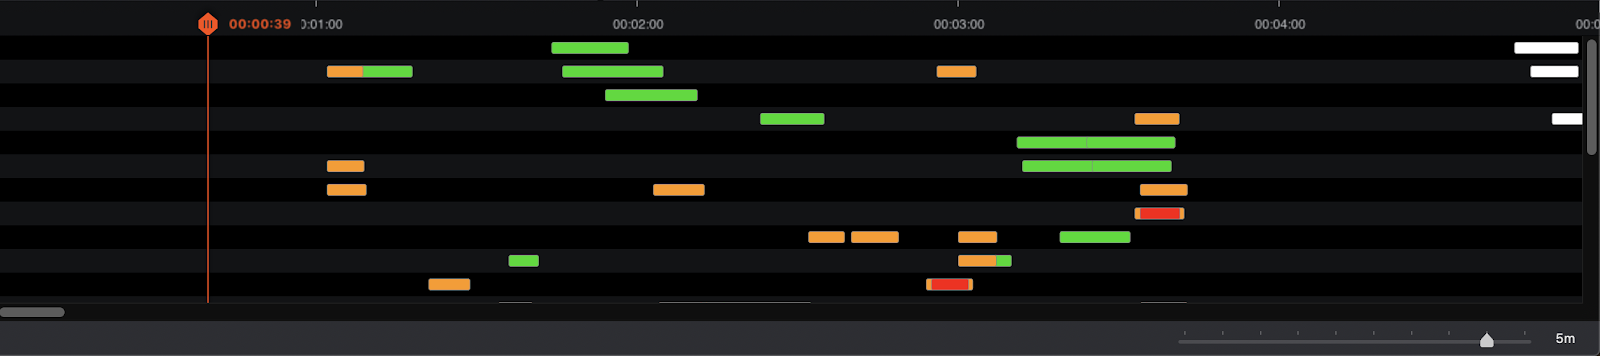
- To do this, using the playhead, select a known instance on your timeline (a high acceleration, IMA event, a Jump event etc) that you can match up to your video.
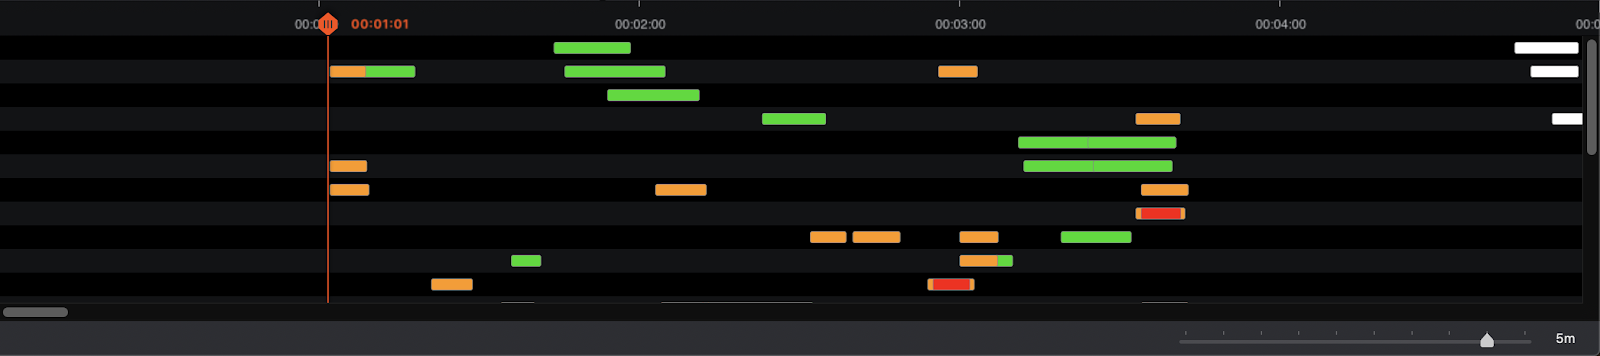
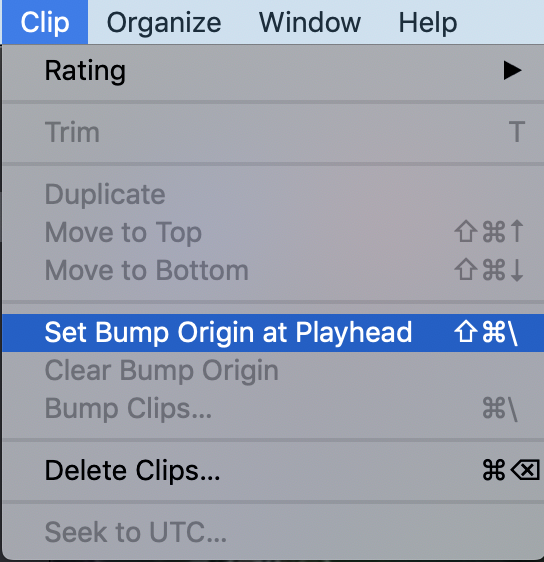
- Once on that tag, go to the apple menu bar, and select “Clip”.
- Scroll down to “Set Bump Origin at Playhead”.
- You will notice a white line appear on your timeline where you have set the bookmark.
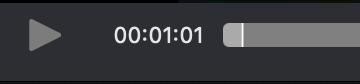
- Proceed to scroll forward or back to the point in the video of that known effort (player accelerating, jumping etc), and simply pause the playhead over that effort.
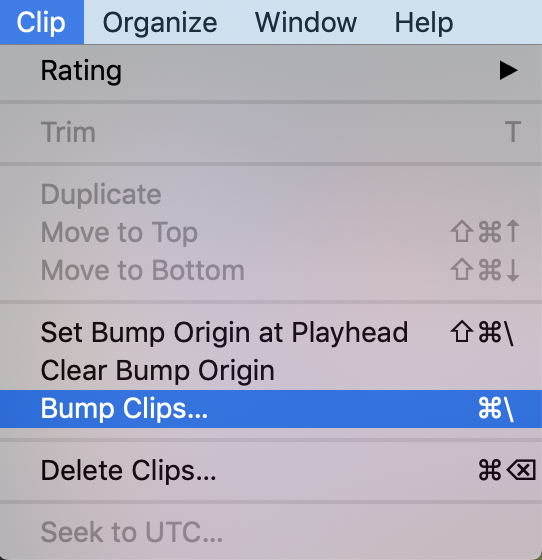
- Go back to your Apple Menu bar and select “Clip”, and scroll down to “Bump Clips...”.
- The user will get the option to select specific Categories or Tags to move. Alternatively they will have the ability to move entire groups of imported tags under the 'Imported Tags' tab.
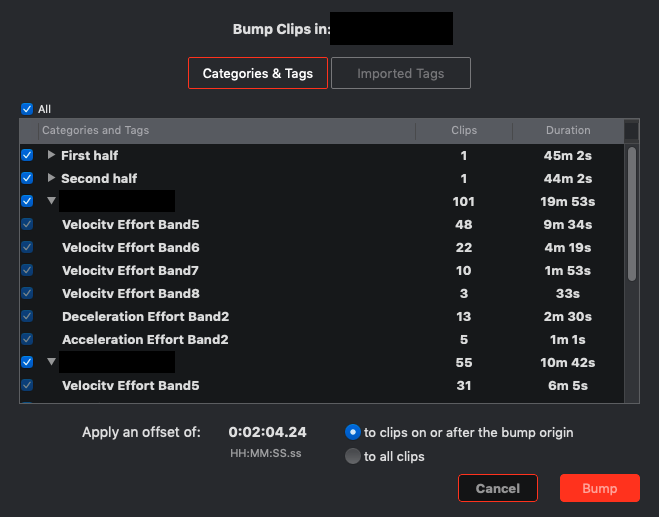
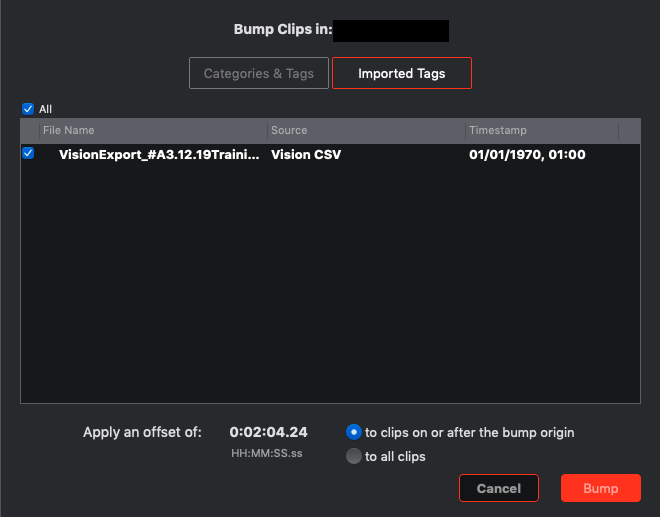
- The user will get the option to move all of your clips, or just those that occur after the playhead either forward or backwards depending on where you have set your playhead.

- All of your efforts should then move on the timeline and be synced up properly.
Comments
0 comments
Please sign in to leave a comment.